Start With the Wall Type, Not the Sign Drawing
The first question is simple: what is the sign going onto? Brick, concrete, precast panels, steel framing, aluminium cladding and fibre cement all behave differently. A fixing that is fine on solid masonry may be wrong for a lightweight cladding panel, especially where wind loading is higher on corners, upper floors and open coastal sites in Cape Town.
At Sign Riggers we always advise sign makers to confirm the substrate before final sign manufacture. That means checking whether the wall is solid or hollow, whether there is a cavity behind the outer skin, and whether the surface has any movement from age, corrosion or poor previous repairs. In Paarden Eiland, Bellville and the Cape Town CBD, older buildings often have mixed construction, so dont assume the whole facade is one material.
- Identify the main wall material and any cladding layer.
- Confirm if the fixing must pass through cladding into structure.
- Check for cracks, loose render, bulging panels or rust stains.
- Look for moisture damage, salt corrosion and previous patch work.
Check Mounting Points Before Fabrication Starts
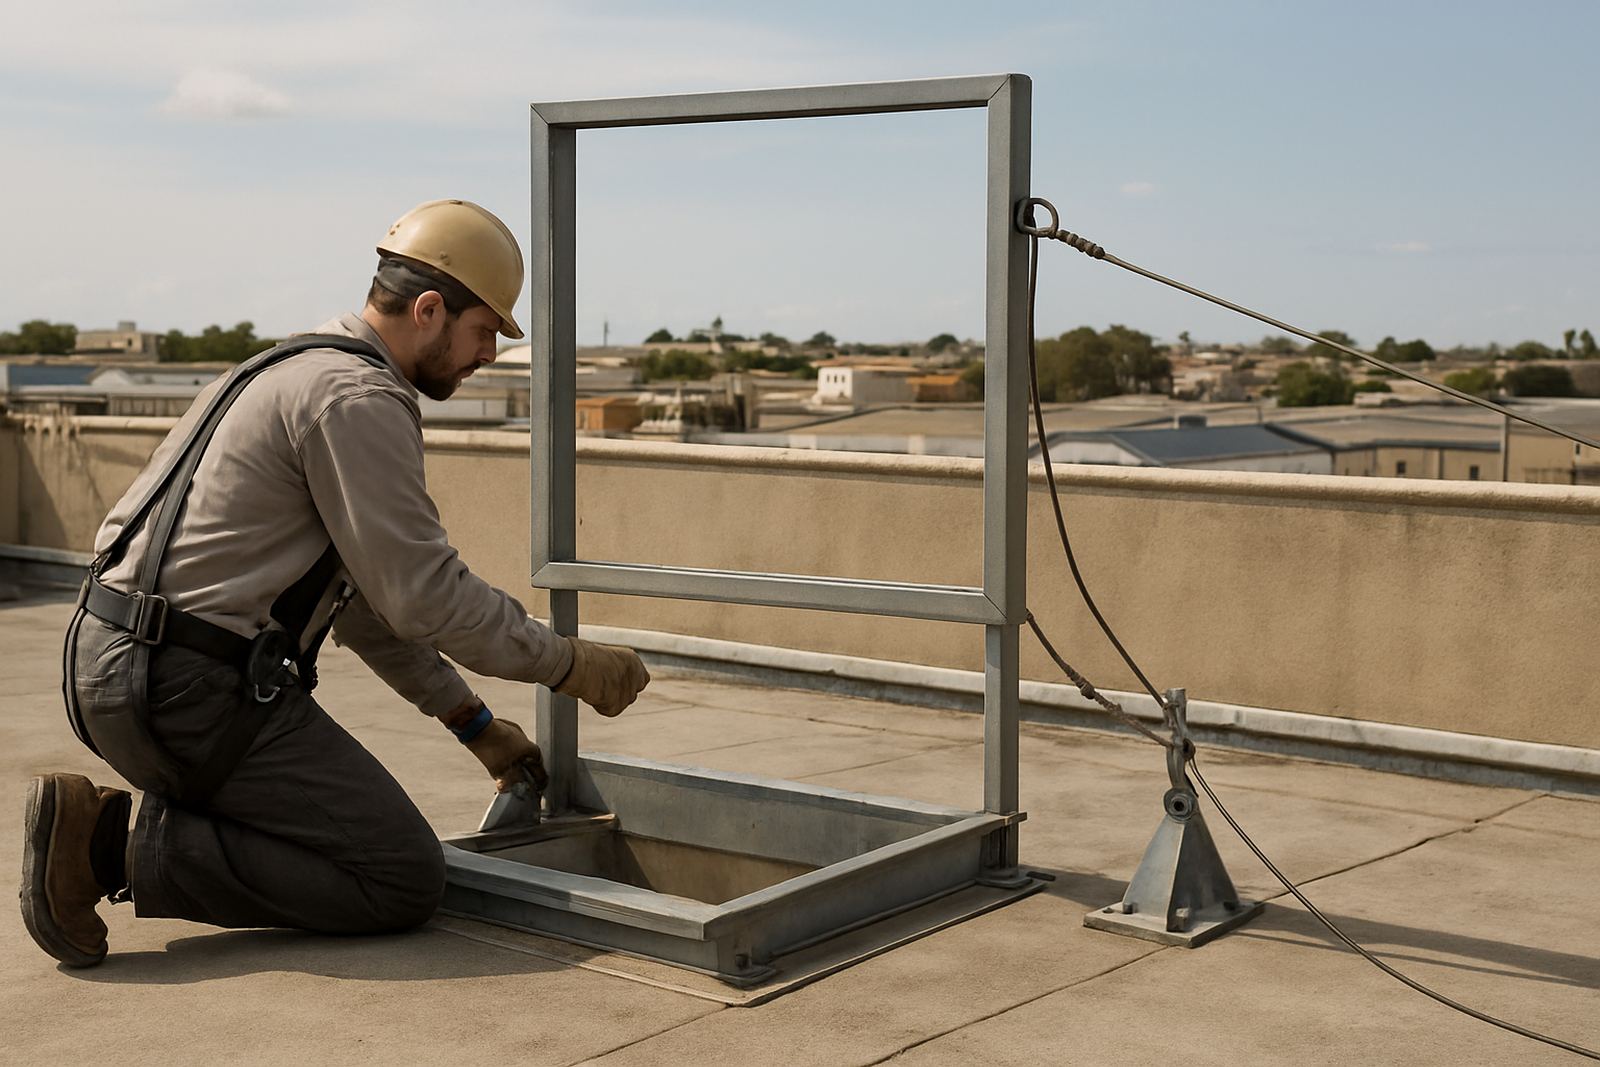
Do not leave mounting point checks until the crew is on site. By then, changes cost time and money, and sometimes mean a return visit. Sign makers should confirm the fixing method, bolt spacing and bracket positions before they finalise the frame or tray. If a sign needs to sit over expansion joints, service ducts or a louvre system, the fixing plan must allow for movement and access.
On larger fascias, it helps to mark the intended fixing points on the wall and compare them with the sign shop drawings. That way the installer can see if there is enough clearance for a drill, torque tool or access platform. In Johannesburg CBD and Sandton, where access can be tight and busy, even a small error in bracket position can become a full rework.
- Confirm fixing centres against the final drawing.
- Check if the wall allows safe drilling at the required depth.
- Allow for movement joints, vents, pipes and cable routes.
- Make sure there is space for tools, access gear and safe working clearance.
Choose Fixings That Suit the Surface and the Load
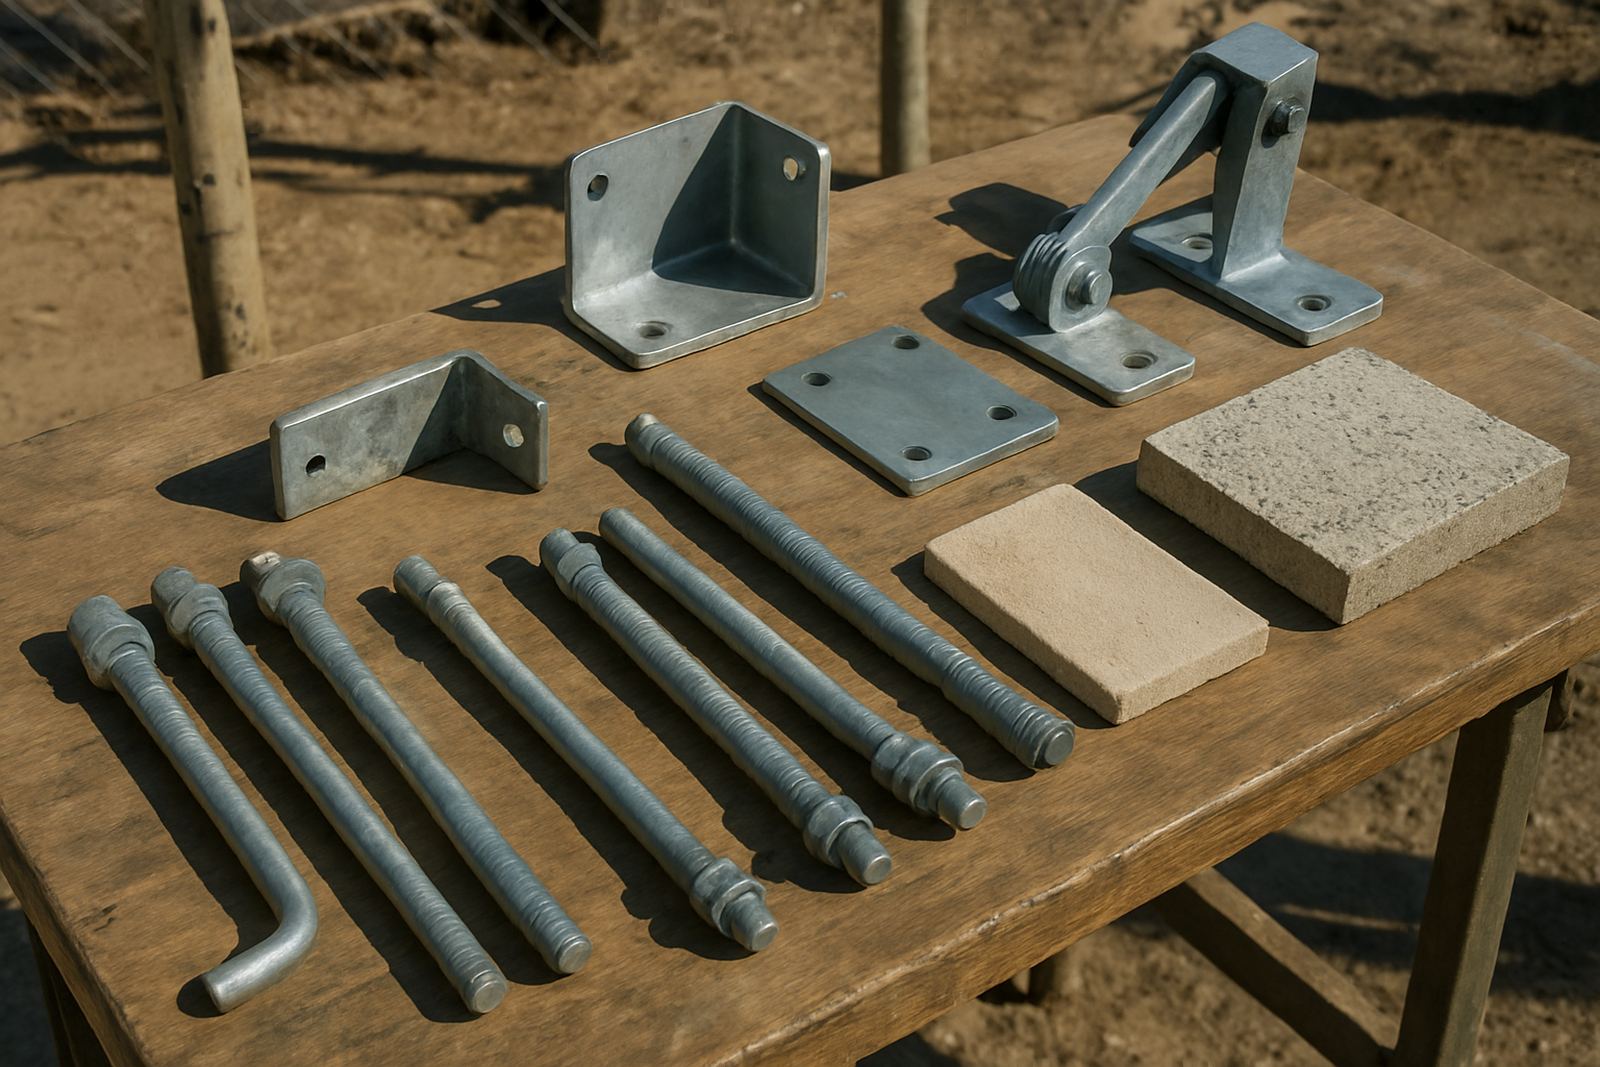
Good sign work is not just about strength, it is about the right type of strength. A light illuminated box on concrete will need a different fixing from a heavy built-up logo on metal cladding. Sign makers should match fixings to the substrate, the sign weight and the expected wind load. Where the wall is weak or irregular, spread the load with suitable brackets or a secondary support frame.
Near the coast, especially in Somerset West and coastal parts of Cape Town, corrosion resistance matters. Fixings, washers and brackets need to stand up to salty air and winter rain. In Gauteng, heat and dust can still cause wear, so fasteners should be checked for loosening over time. A cheap fixing can cost more later if a panel starts to rattle or shift.
- Use fixings suited to masonry, steel, hollow block or cladding systems.
- Check the expected load, including wind and vibration.
- Use corrosion resistant components for coastal areas.
- Consider spreader plates or backing rails for weak surfaces.
Plan Access and Safety Around the Facade
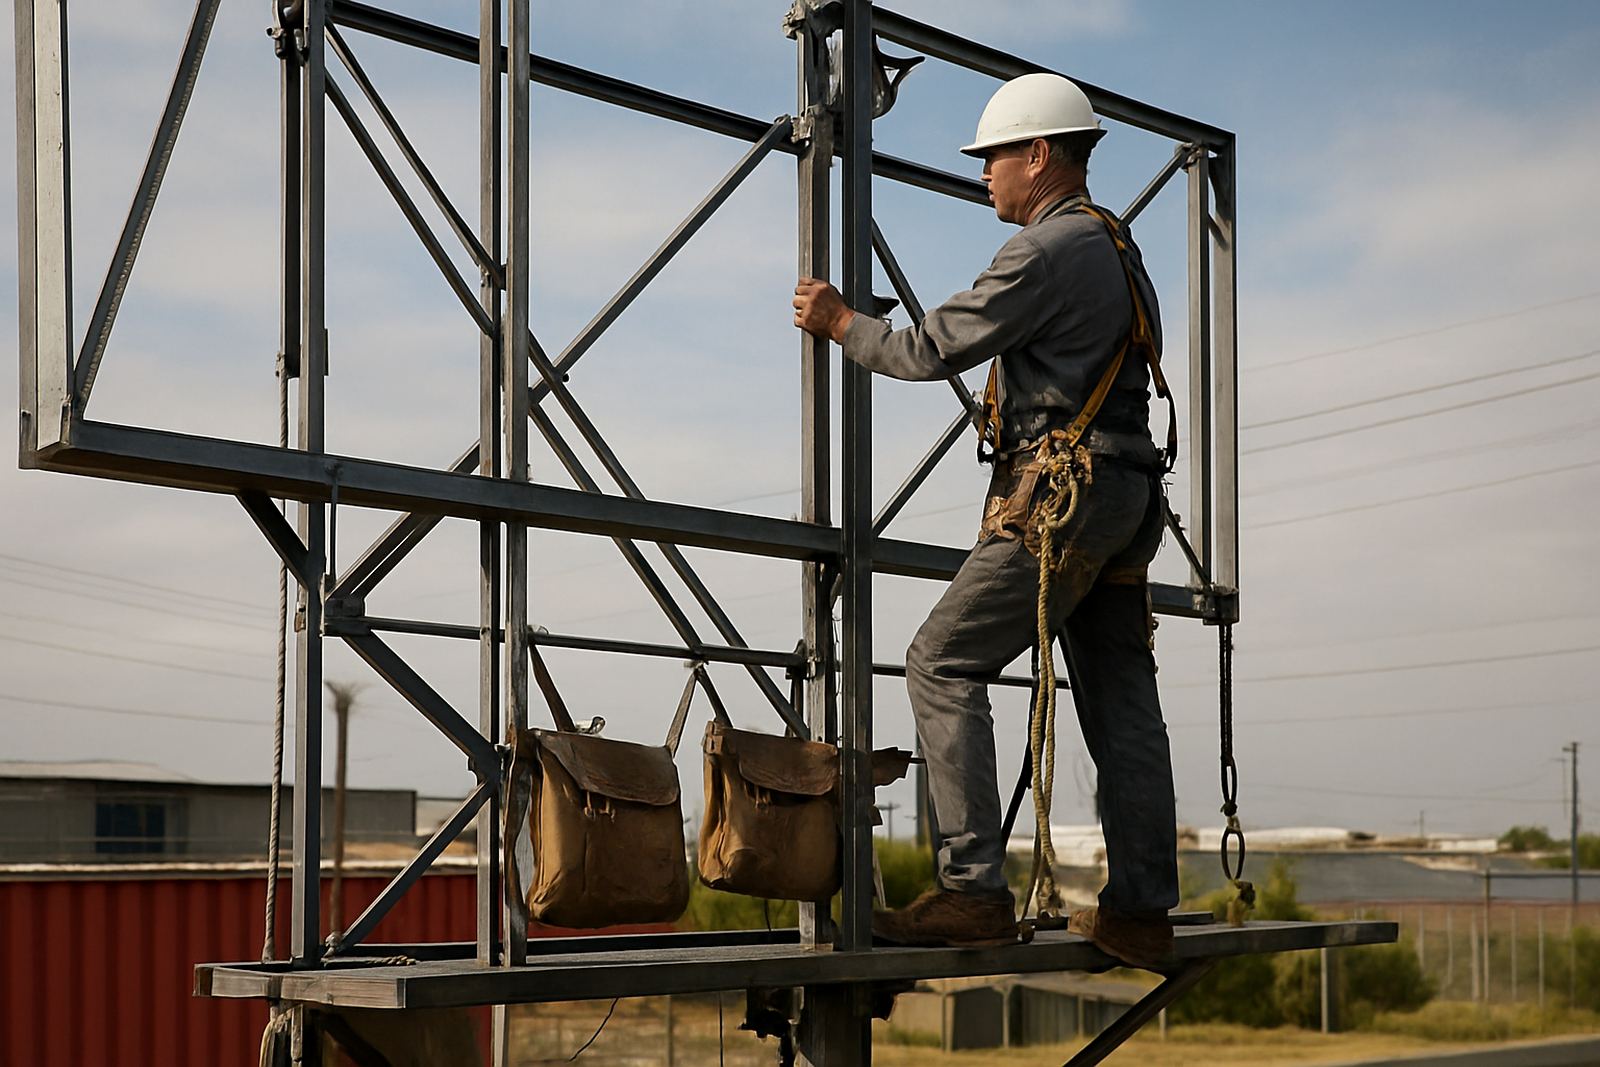
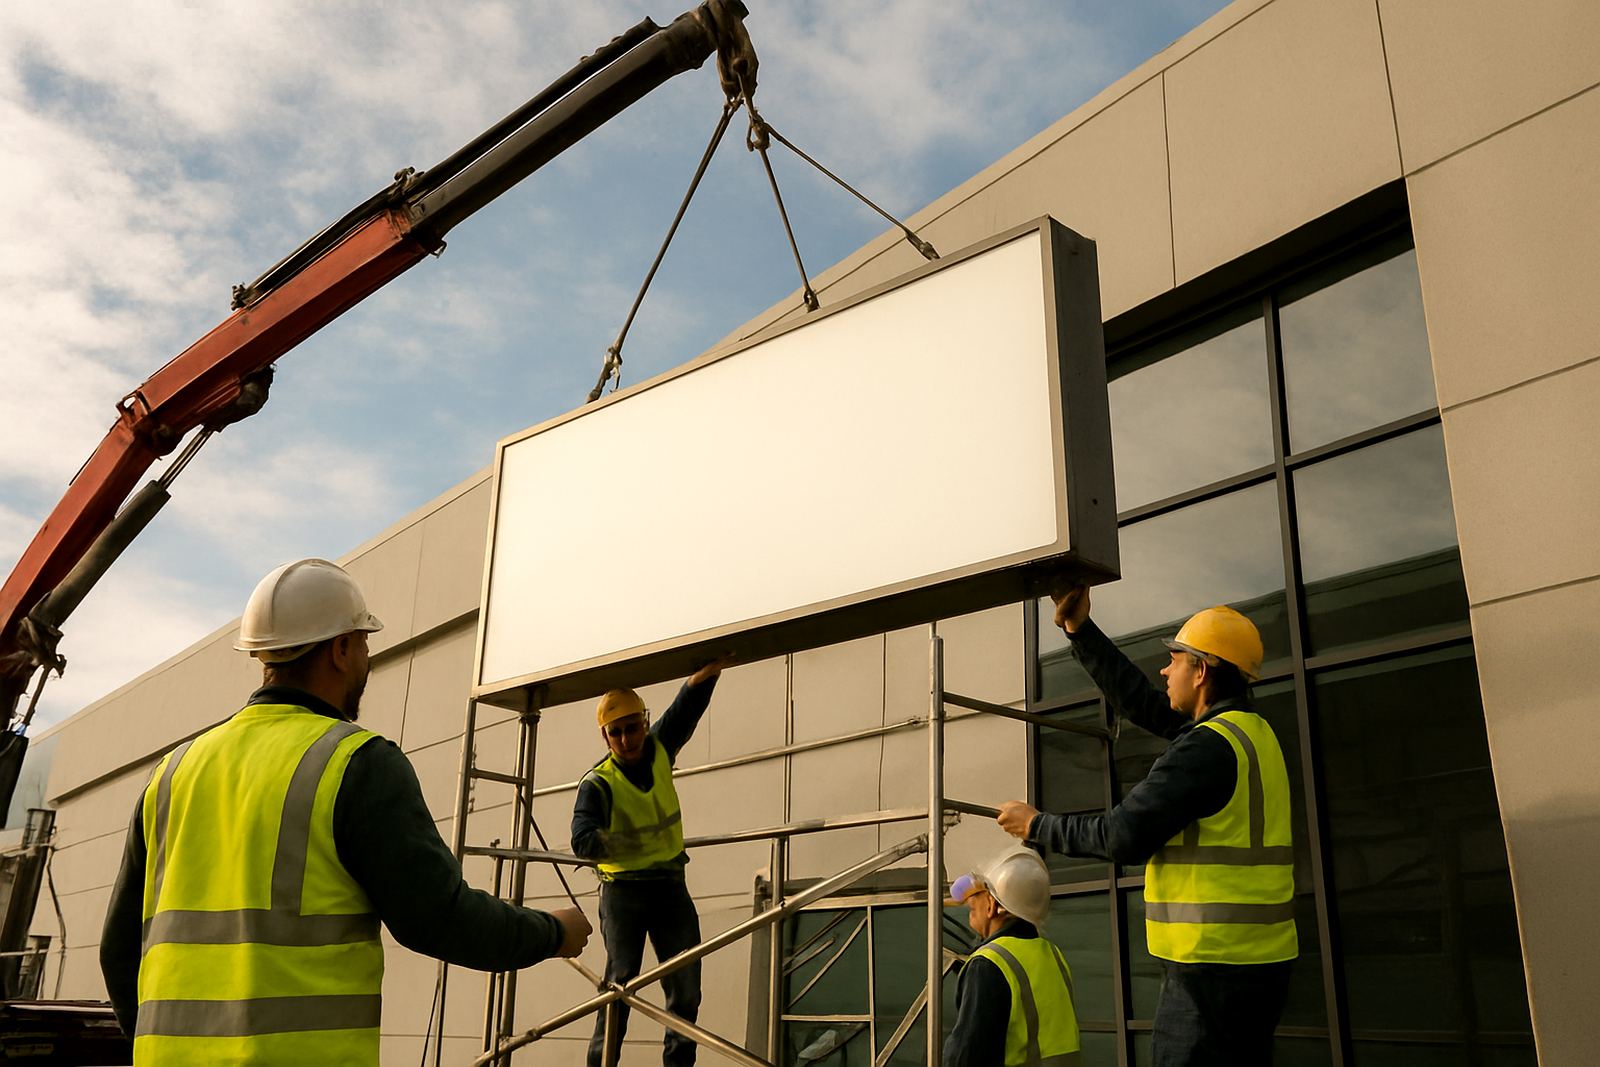
Once the fixing method is known, plan how the crew will reach it. Not every facade can be handled from a ladder. Height, road traffic, pavement width, overhead cables and neighbouring buildings all affect the access plan. For a sign shop, this means thinking ahead about scaffold access, platform work or lift planning before the installation date is booked.
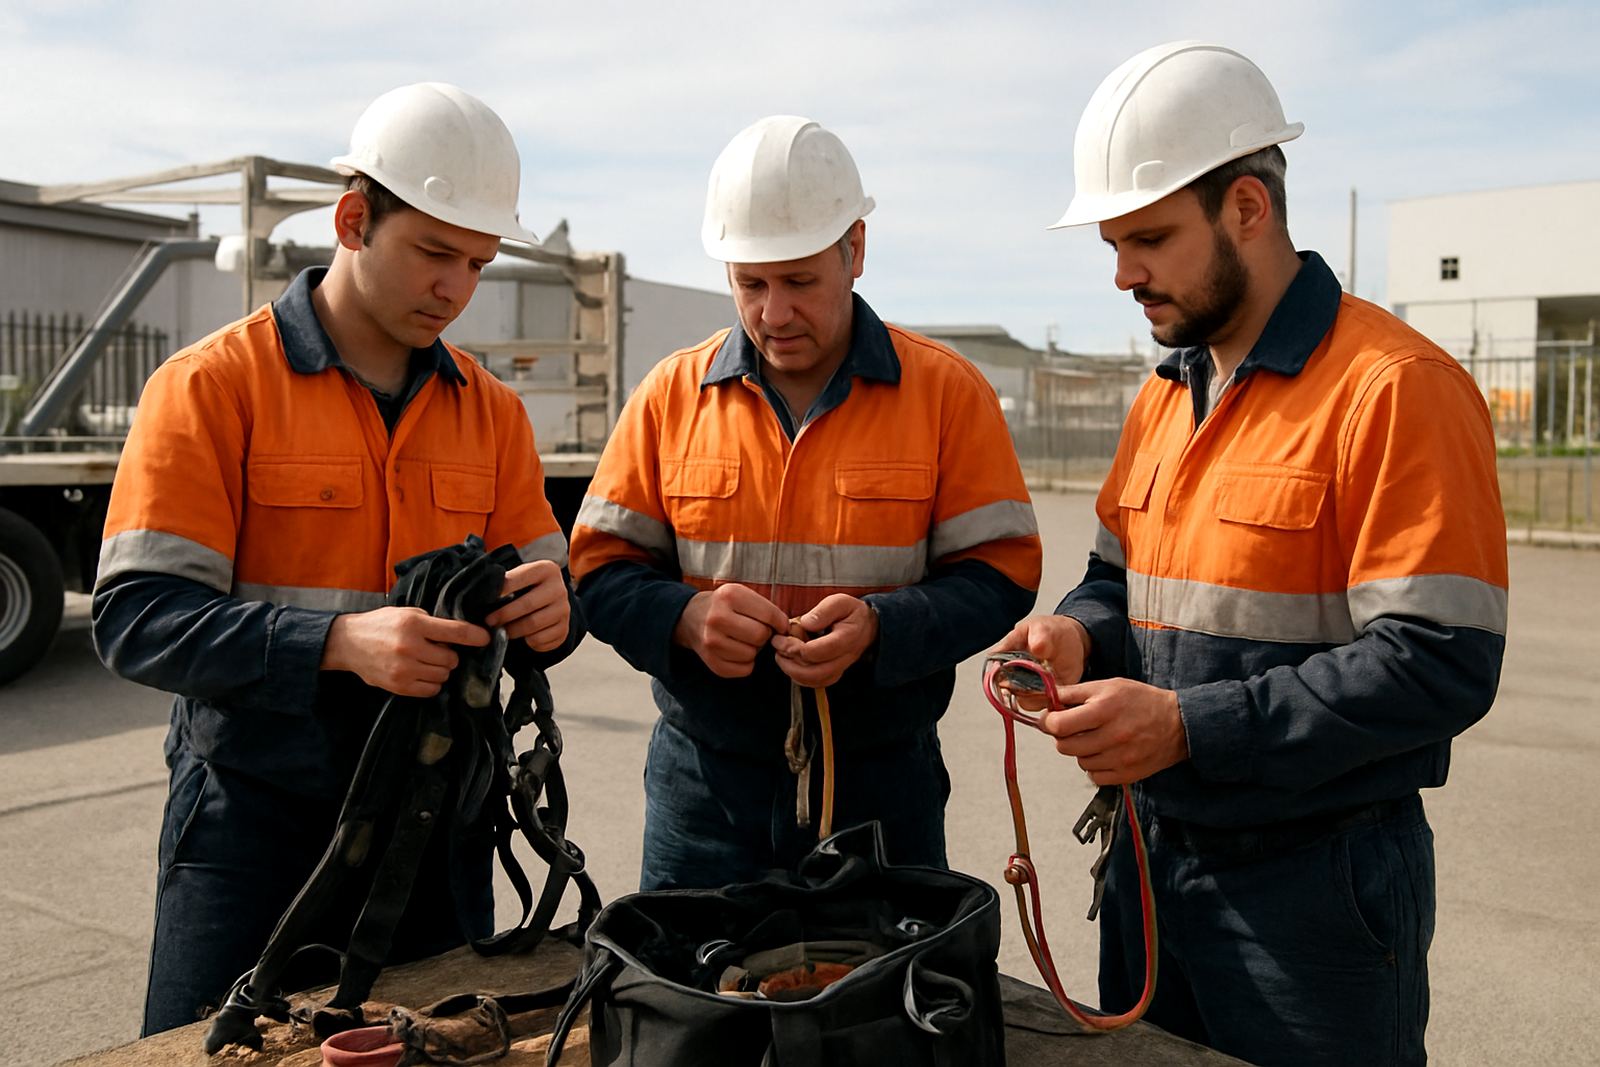
Our teams in Cape Town and Johannesburg work with safety trained crews, scaffold awareness and first aid cover because the site conditions change from one property to the next. A clean site survey can prevent delays, and it also helps with municipal rules where road use, pavement space or permits may be involved. If load-shedding is expected, check whether lighting tests need to happen in daylight with alternate power arranged.
- Decide how the crew will reach the fixing height safely.
- Check for traffic, pedestrians and nearby hazards.
- Confirm any permit or access requirement before the visit.
- Plan for power interruptions if the sign includes lighting.
Build in Movement, Water Runoff and Maintenance Access
Signs do not live on the wall for one day only. They have to survive wind, rain, heat and cleaning. The fixing detail should allow water to drain and should not trap moisture behind the panel. On cladding, sealed edges and proper spacing help reduce staining and corrosion, while on masonry the installer should avoid creating entry points for water that can damage plaster or paint.
Maintenance access matters too. If a lamp needs replacement or a face panel must come off later, the sign should be installed in a way that allows servicing without damaging the facade. That is why sign makers should think beyond the first day fit and ask what happens during the next visit, especially on multi storey sites or where the sign sits above a shopfront canopy.
- Allow for expansion, contraction and minor building movement.
- Do not trap water behind the sign or brackets.
- Leave access for future servicing and face changes.
- Use fixings and sealants that suit the outdoor exposure.
Use a Final Pre Install Checklist Before the Crew Arrives
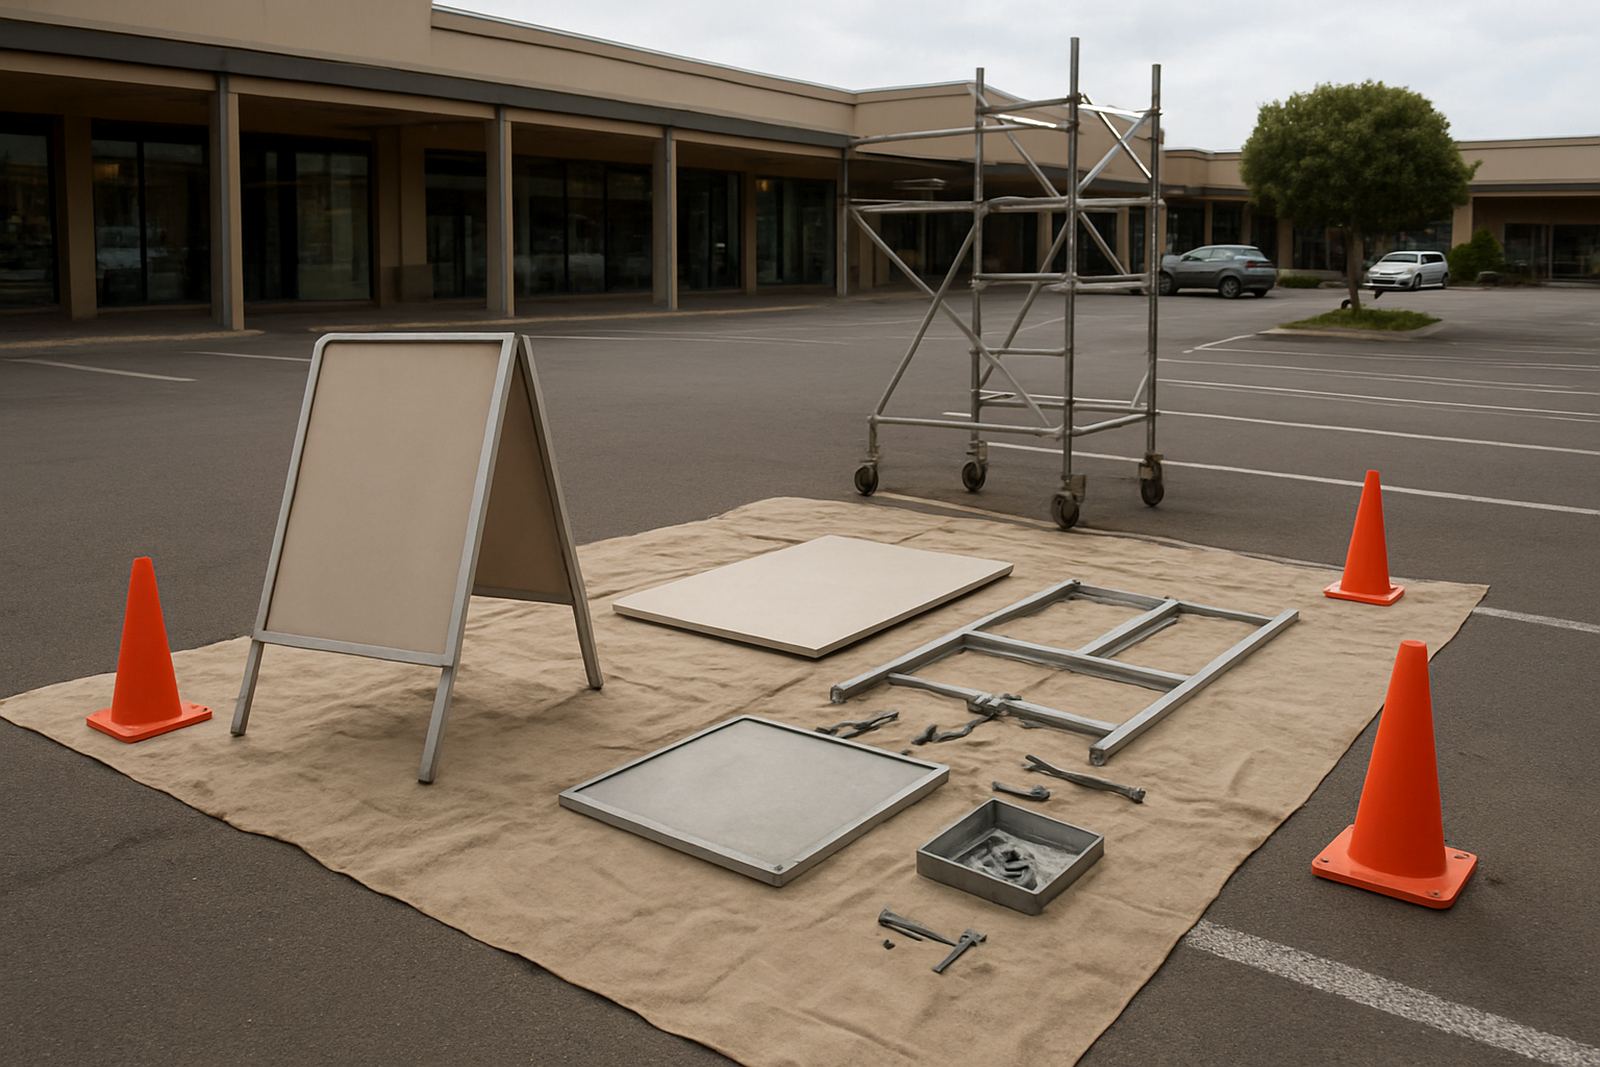
A short checklist saves more time than a long argument on site. Before release to installation, the sign maker should confirm the facade details, the fixing specification and the access method. If something looks uncertain, ask for a site survey or a second check rather than guessing. That is especially important for sign relocations, emergency callouts and billboard face changes where the working window can be tight.
For crews working across Paarden Eiland, Bellville, Midrand, the East Rand or Johannesburg CBD, the best jobs are the ones where the wall has already been checked properly. The sign arrives, the fixings suit the surface and the install goes ahead without improvistion.
- Wall type confirmed and photographed.
- Fixing points marked and matched to the drawings.
- Access method approved for the site.
- Lighting, power and servicing needs noted.
- Any corrosion, damage or movement recorded before install.