Start with the wall, not the sign
Before any projecting sign goes near a facade, the wall must be checked properly. Brick, plaster, precast concrete and metal cladding all take load differently, and a blade sign can put surprising strain on a poor fixing point, especially on older buildings in Paarden Eiland, Bellville or the Johannesburg CBD where walls may have been patched more than once.
We always want the sign maker or project manager to confirm the sign size, projected length, weight and fixing pattern first. If the wall is cracked, hollow sounding, damp or uneven, the fixings may need to change. On coastal sites around Cape Town, salt air and wind can work into fixings faster than inland areas, so check for corrosion, loose render and water ingress before any lift is booked.
- Confirm the wall material and condition
- Check for hidden services, conduits and downpipes
- Measure the projection and total weight
- Look for previous holes, anchors or patch repairs
- Allow for wind load on double sided or illuminated signs
Bracket prep that saves time on site
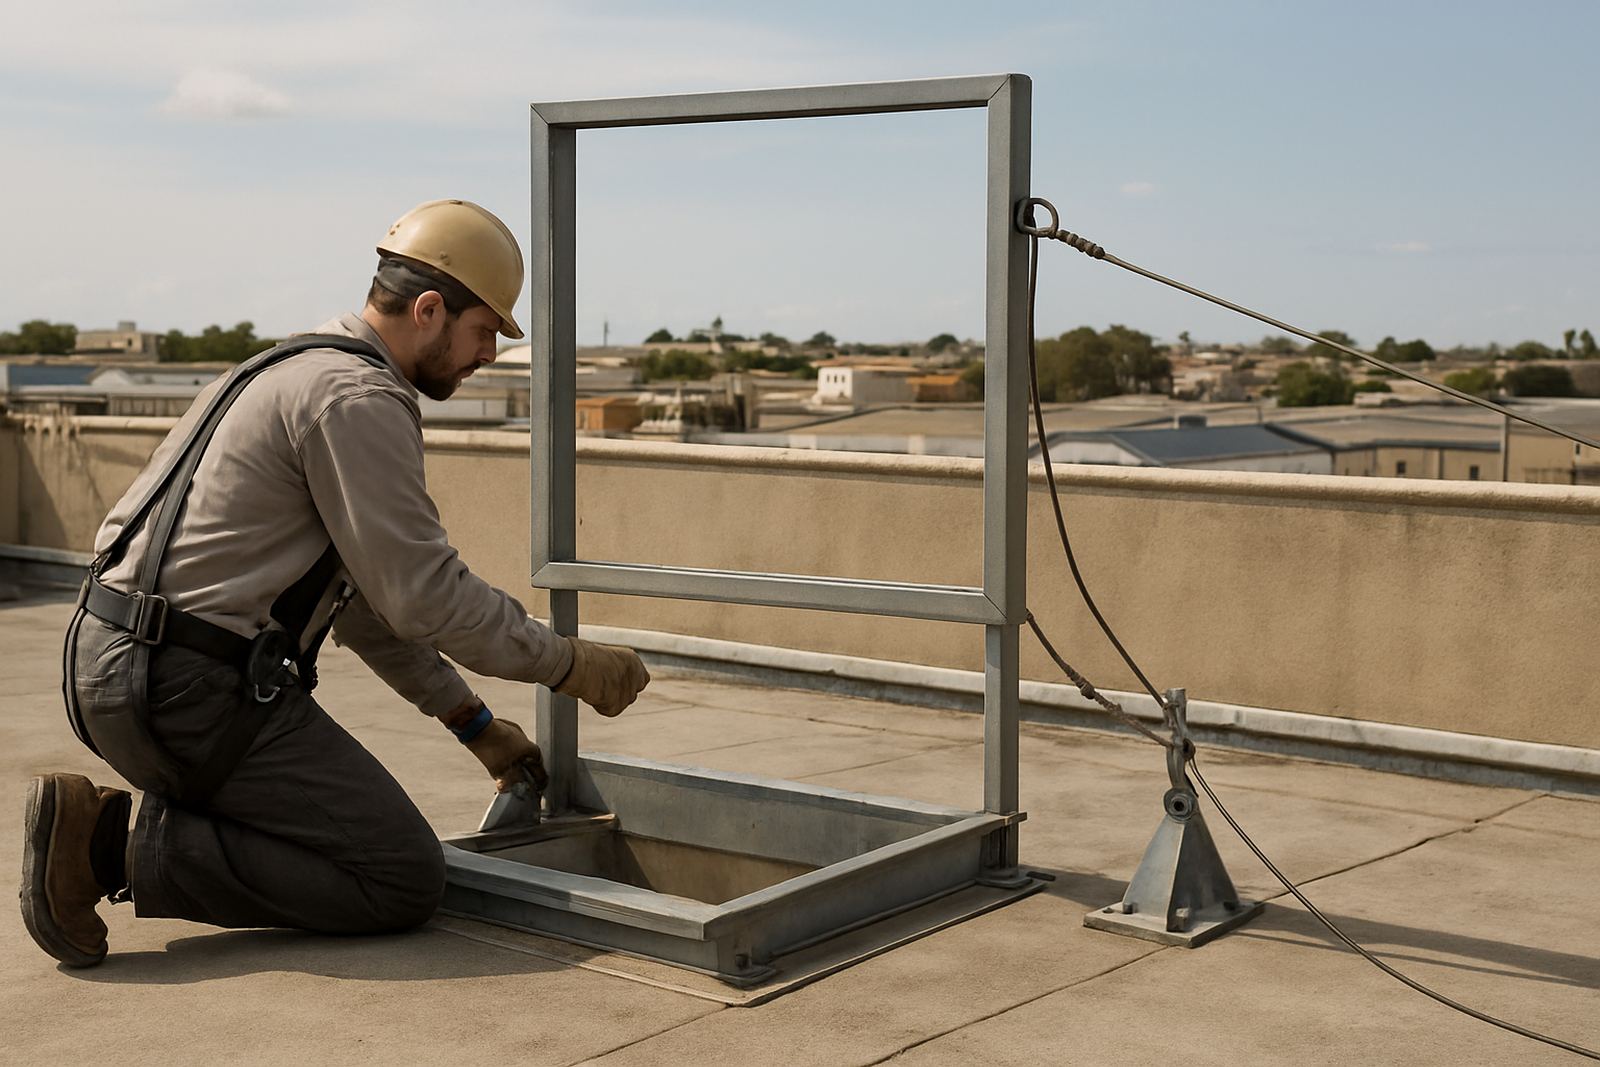
Good bracket prep starts in the workshop. The fixing plate, stand-off arms and back frame must match the sign size and the wall condition, otherwise the crew spends time adjusting on a lift while traffic is moving below. For sign shops, the easiest jobs are the ones that arrive with labelled parts, correct drill sizes and a clear fixing drawing.
Our crews see a lot of late changes: a bracket hole shifted by 20 mm, a missing set of washers, or a sign face that does not clear a window reveal. That is where delays start. If the sign is going up in Sandton or Midrand, where access can be tight and time windows are short, having the right bracket pack ready can save a second visit.
- Match bracket thickness to sign weight and span
- Use corrosion resistant fasteners suited to the environment
- Pre-drill the frame only if the final dimensions are confirmed
- Pack all bolts, washers, rawl plugs and sealant in one set
- Label top, bottom and face orientation before loading
Check access before the crew arrives
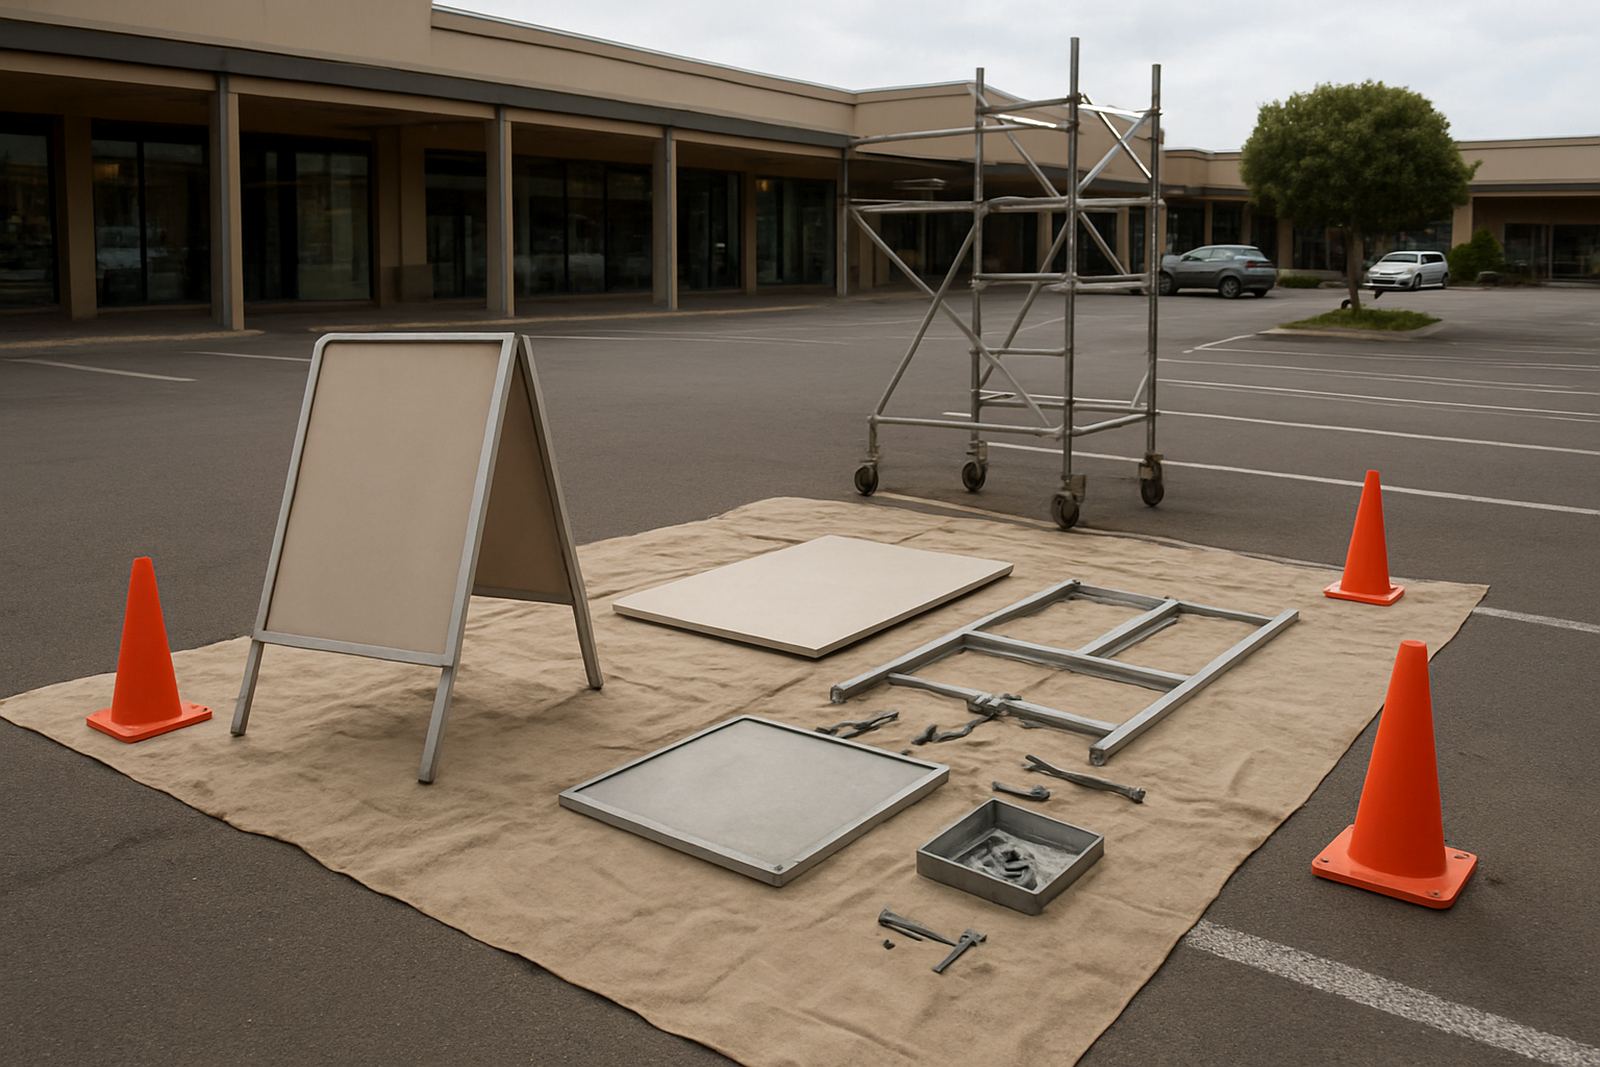
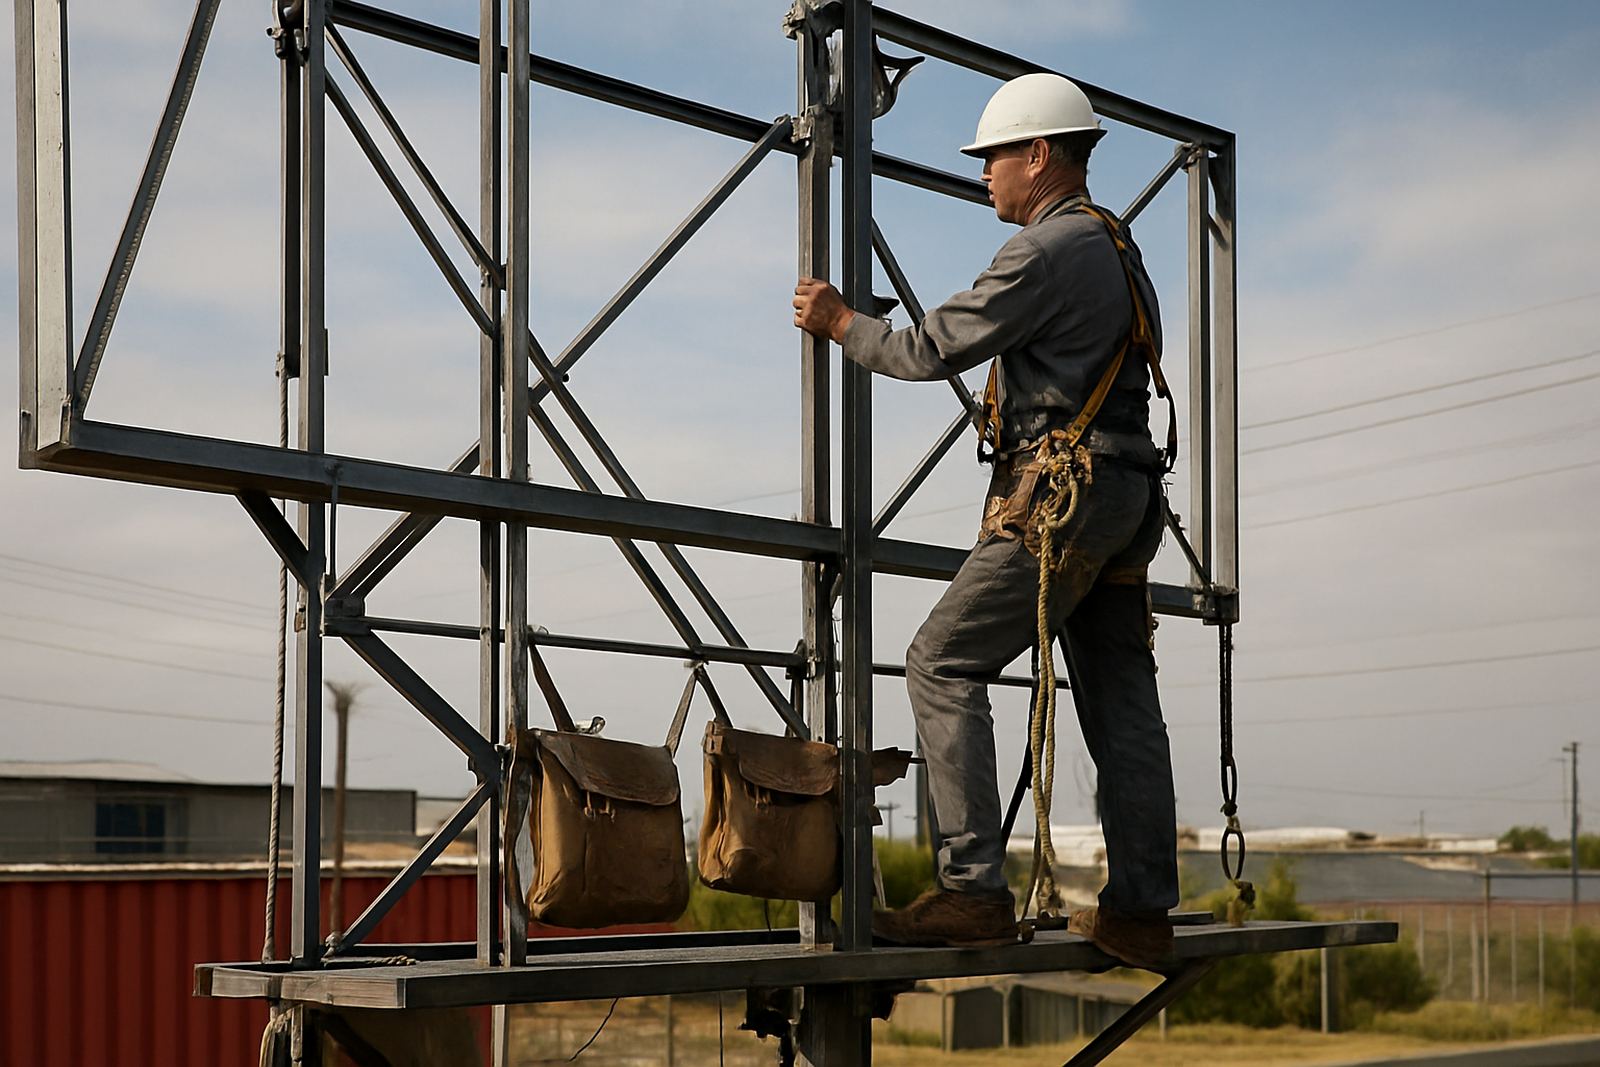
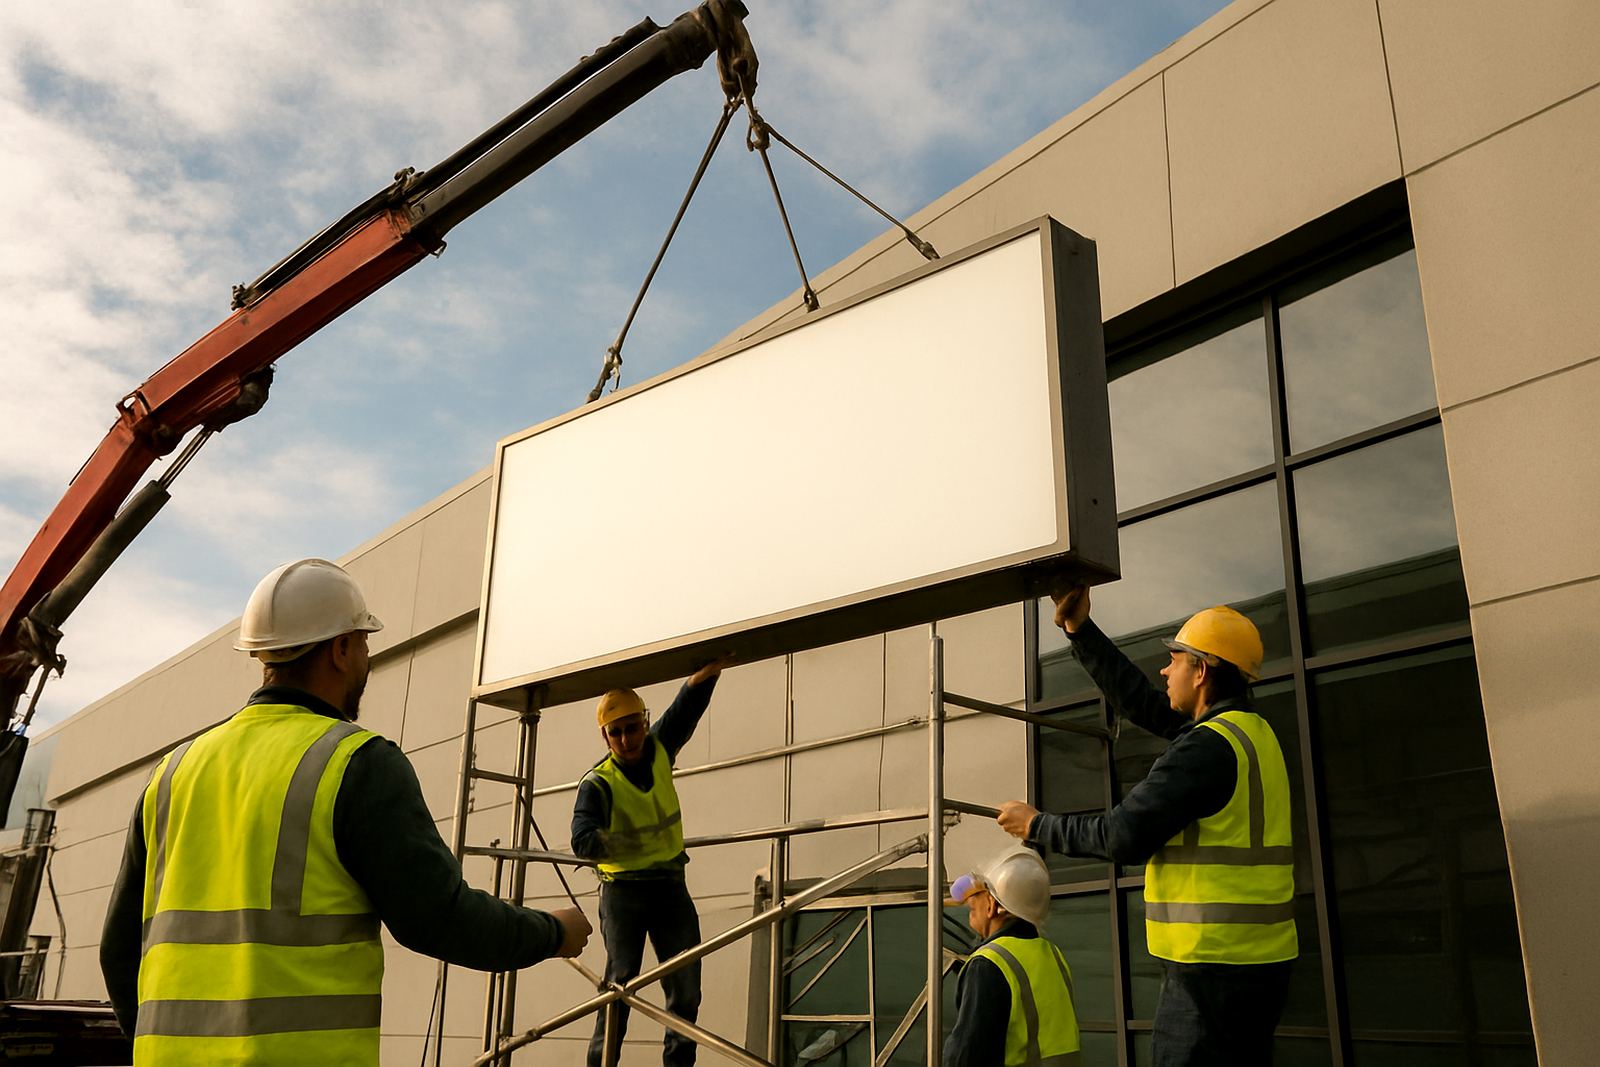
Access planning should happen before the van leaves the yard. A projecting sign often needs ladder access, scaffold, a small platform or traffic control, depending on height and pavement space. In commercial areas with busy sidewalks or municipal restrictions, there may be no room for a quick install. That means you need a plan for cones, barriers and if needed a brief lane or pavement closure.
For sites in Somerset West, Paarl or the East Rand, it is also worth checking where the vehicle can park and how the equipment will be moved from the truck to the wall. Lift access and scaffold routes need to be clear of parked cars, low branches and overhead lines. If the site is in a windy corridor or close to the coast, plan for the weather window too, because a sign face can become difficult to control in gusts.
- Confirm parking and loading space
- Check pavement width and public walkways
- Review height, reach and overhead obstructions
- Arrange barriers, cones or spotters where needed
- Allow extra time for wind, rain or load-shedding delays
Street-level safety for pedestrians and tenants
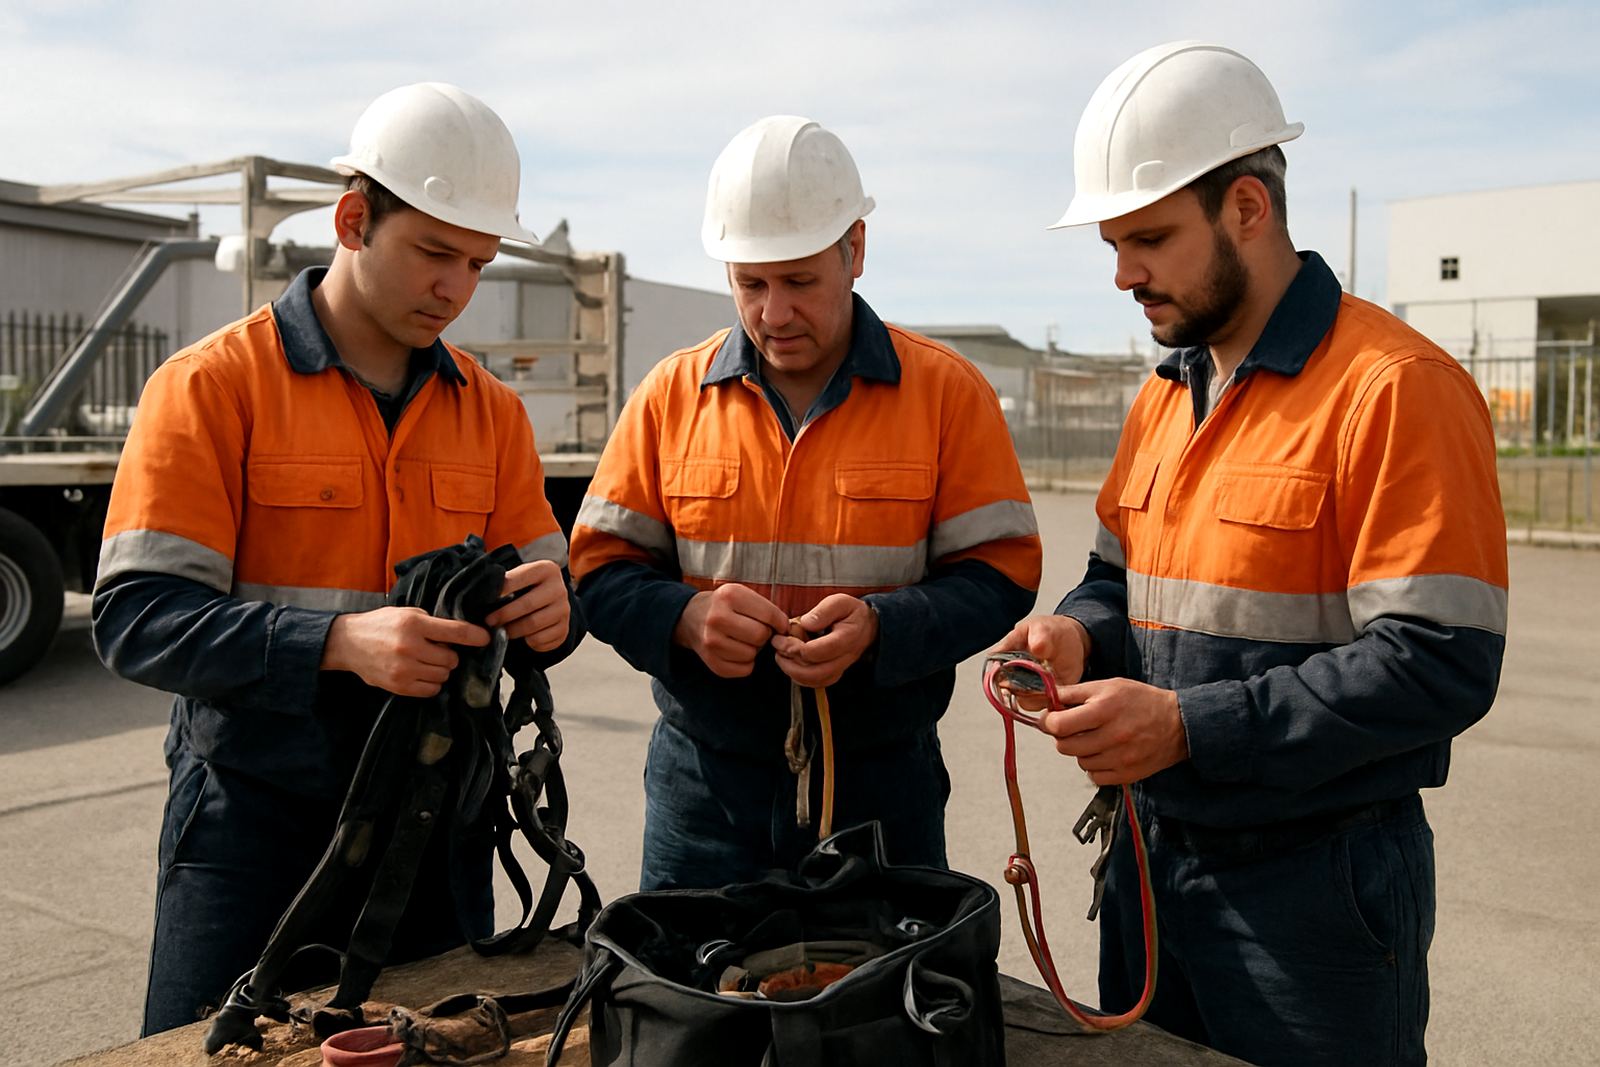
Street-level safety is not optional. A projecting sign install can create falling-object risk, trip hazards and distraction for pedestrians if the area is not managed properly. We use trained crews with safety awareness, first-aid knowledge and scaffold familiar handling, but the site still needs the right controls from the start.
Tenants should be told when the work starts and how long the area will be active. If the sign hangs over a shopfront, entrance or shared walkway, that space needs clear separation. On busy roads in Johannesburg CBD or near retail strips in Bellville, pedestrians may drift into the work zone unless barriers are obvious and a crew member is keeping watch. It sounds basic but it prevents trouble.
- Set up a visible work zone before tools come out
- Keep the public out from under the install point
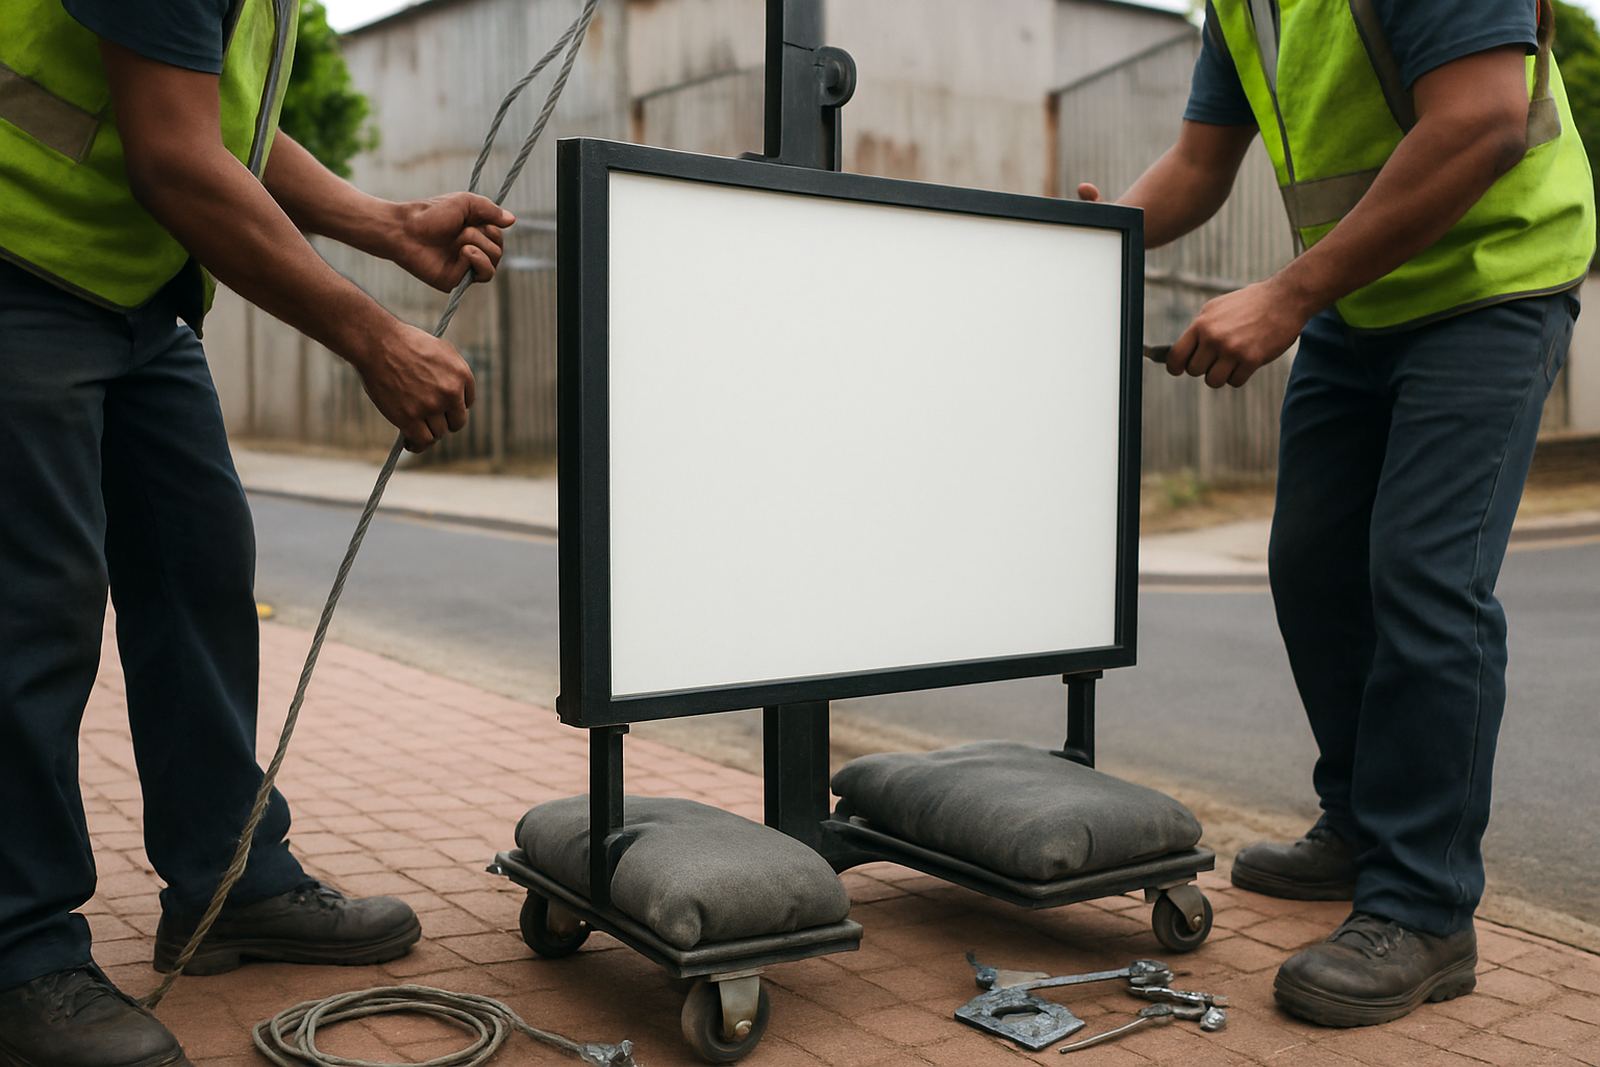
- Use a spotter when moving long sign sections
- Secure tools, fixings and loose face panels at all times
- Stop work if weather or traffic conditions become unsafe
Lighting, wiring and after-dark checks
If the projecting sign is illuminated, the sign should be ready for a clean electrical handover. That means the lighting access point, cable route and junction space must be known before installation. A sign can be mounted correctly yet still cause a call-back if the lights are flickering, the access panel is too small, or the wiring point is exposed to rain.
For Cape Town coastal sites, moisture can get into small gaps faster than people expect. In Gauteng, dust and heat can also affect connections over time. After the sign is fixed, the team should check the illumination from the street level, not only from the roof or the lift. It is the street view that matters to the client and to the public.
- Confirm where the electrical feed enters the sign
- Check that access covers can be opened safely later
- Seal external joints where water could track in
- Test the sign from the street and from a distance
- Record any follow-up servicing needed after handover
A simple handover checklist for sign makers
Good handover keeps everyone aligned. A sign maker usually wants to know that the wall was sound, the brackets were installed correctly and the sign is sitting level with no visible damage. If there is a future service point, that should be marked clearly. When the work is done, a few photos and a short note can prevent confusion later if the sign needs adjustment or removal.
We also recommend a quick post-install check after the first heavy wind or rain. Blade signs move more than flat signs, and a small shift can become a bigger issue if it is not noticed early. In busy areas like Sandton or the Johannesburg CBD, even a minor looseness can be a concern if the sign is over a walkway or vehicle entry.
- Confirm the sign is level and secure
- Check fixings for correct torque and tightness
- Make sure trim, face and illumination are clean
- Note any future maintenance access issues
- Keep a record of the install date and site conditions
When to call for a removal or emergency visit
Sometimes a projecting sign cannot wait for a planned booking. If the wall is failing, the bracket is loose, or the sign has been struck by a vehicle, a quick removal or stabilisation visit may be needed. That is especially important where the sign sits over a public walkway or a tenant entrance. We get called for damaged brackets, storm movement, water ingress and signs that need to be taken down before more harm is done.
For sign shops, it helps to know exactly what is happening on site: whether the sign should come down completely, be re-fixed, or simply be made safe until the main repair team returns. A clear photo and a note on access can save time and reduce the chance of repeat visits.
On any emergency callout, the first step is safety, not speed. If the area is too exposed, the crew may need to secure the zone first and return with the right access equipment. That keeps the public safe and protects the sign shop’s reputation too.