1. Start with a proper removal brief
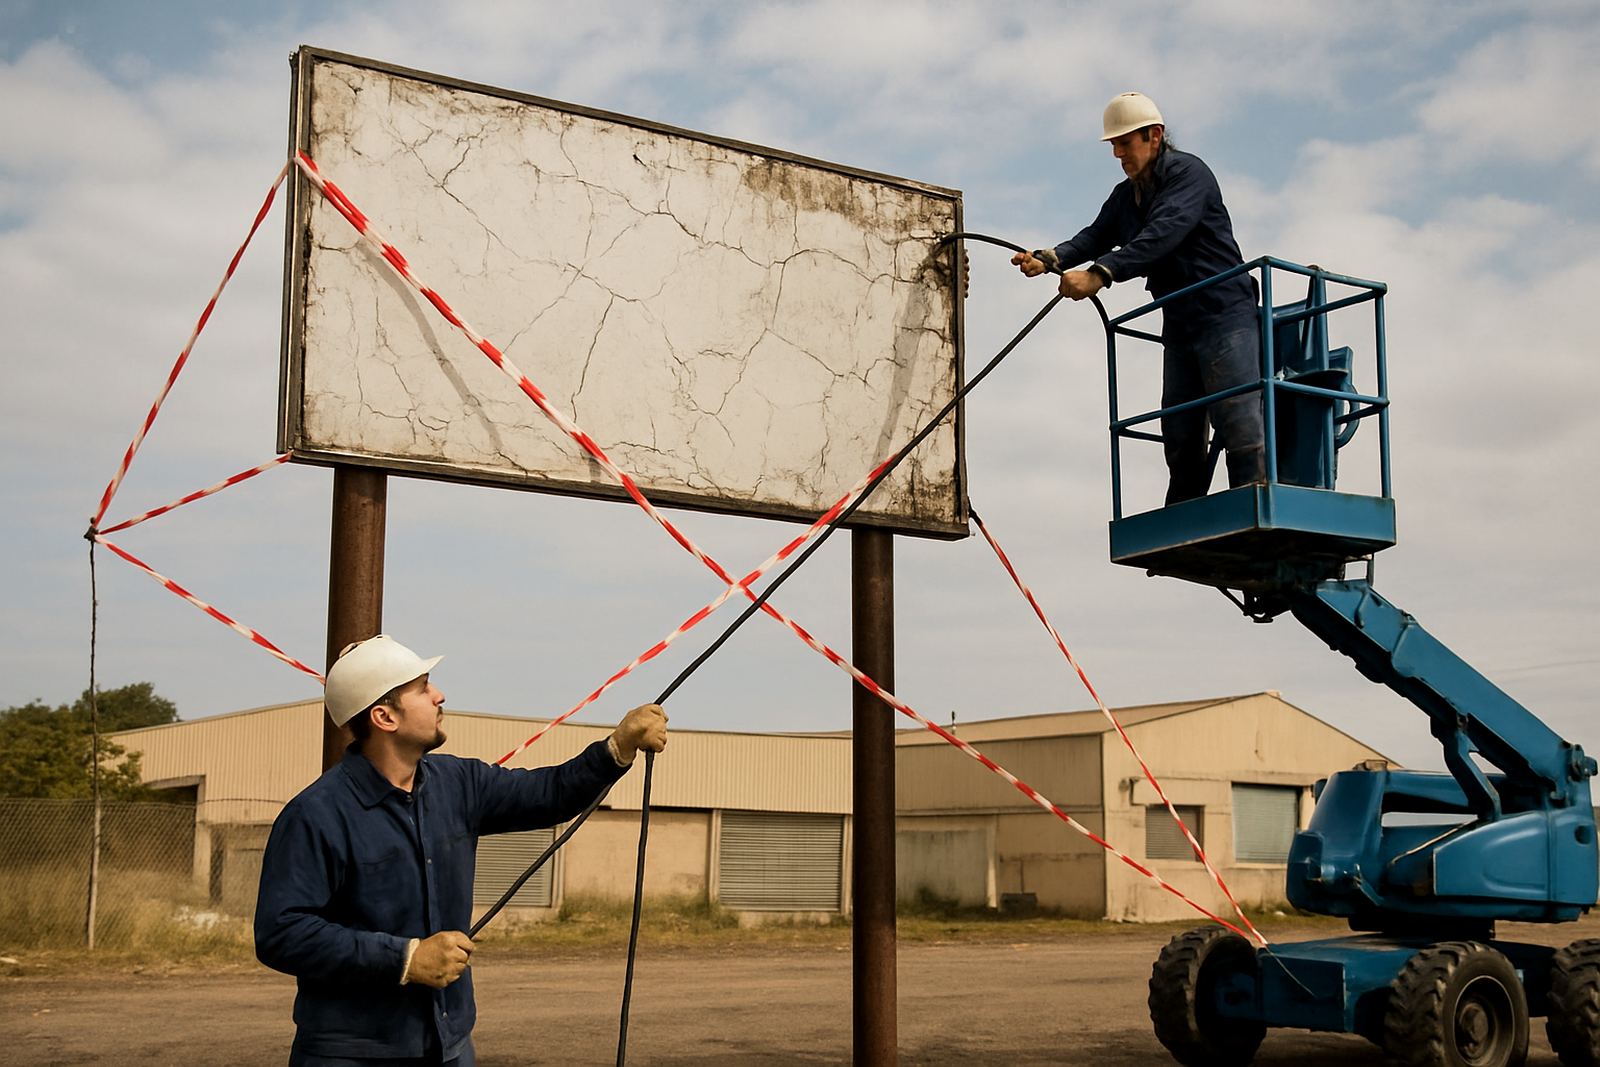
Every removal should begin with a short but complete brief. The team needs to know what the sign is, where it sits, how it is fixed, and what lies behind it. A light box on a retail facade calls for a different plan to a billboard face change on a highway structure or a fascia sign above a narrow pavement in the CBD.
Before the crew arrives, confirm the sign size, height, approximate weight and the fixing method if it is known. If the sign carries lighting or moving parts, say so early. For older sites in Paarden Eiland, Bellville, Johannesburg CBD or Sandton, there may be hidden cabling, corroded brackets or patched waterproofing that changes the job.
- Confirm the exact sign location and access route.
- Note nearby traffic, pedestrians, tenant entrances and loading bays.
- Record whether the sign is powered, lit or tied into a timer or isolator.
- Check if the removal must happen after hours, over a weekend or during trade.
- Identify where the sign will be placed after lowering and who will receive it.
2. Isolate power before any fixing is touched
Electrical isolation is one of the first jobs on site. Many removals involve illuminated signs, channel letters, light boxes or ancillary wiring that may still be live even when the sign appears off. The safe approach is to identify the supply, isolate it at source and verify that no live feed remains before screws or bolts are loosened.
On mixed-use sites, power points can be shared between tenants or tied into older boards that are not clearly labelled. That is common in older buildings along the Cape peninsula and in parts of Gauteng. If the power path is unclear, stop and trace it properly. Guessing saves no time and can damage the sign or injure the crew.
- Locate the isolator, breaker or disconnect point.
- Test that the sign is dead before dismantling begins.
- Tag the isolated circuit if other trades are still on site.
- Protect exposed ends and cable tails from rain or dust.
- Keep a record of any live services found during the job.
3. Plan the access method before the first bolt comes out
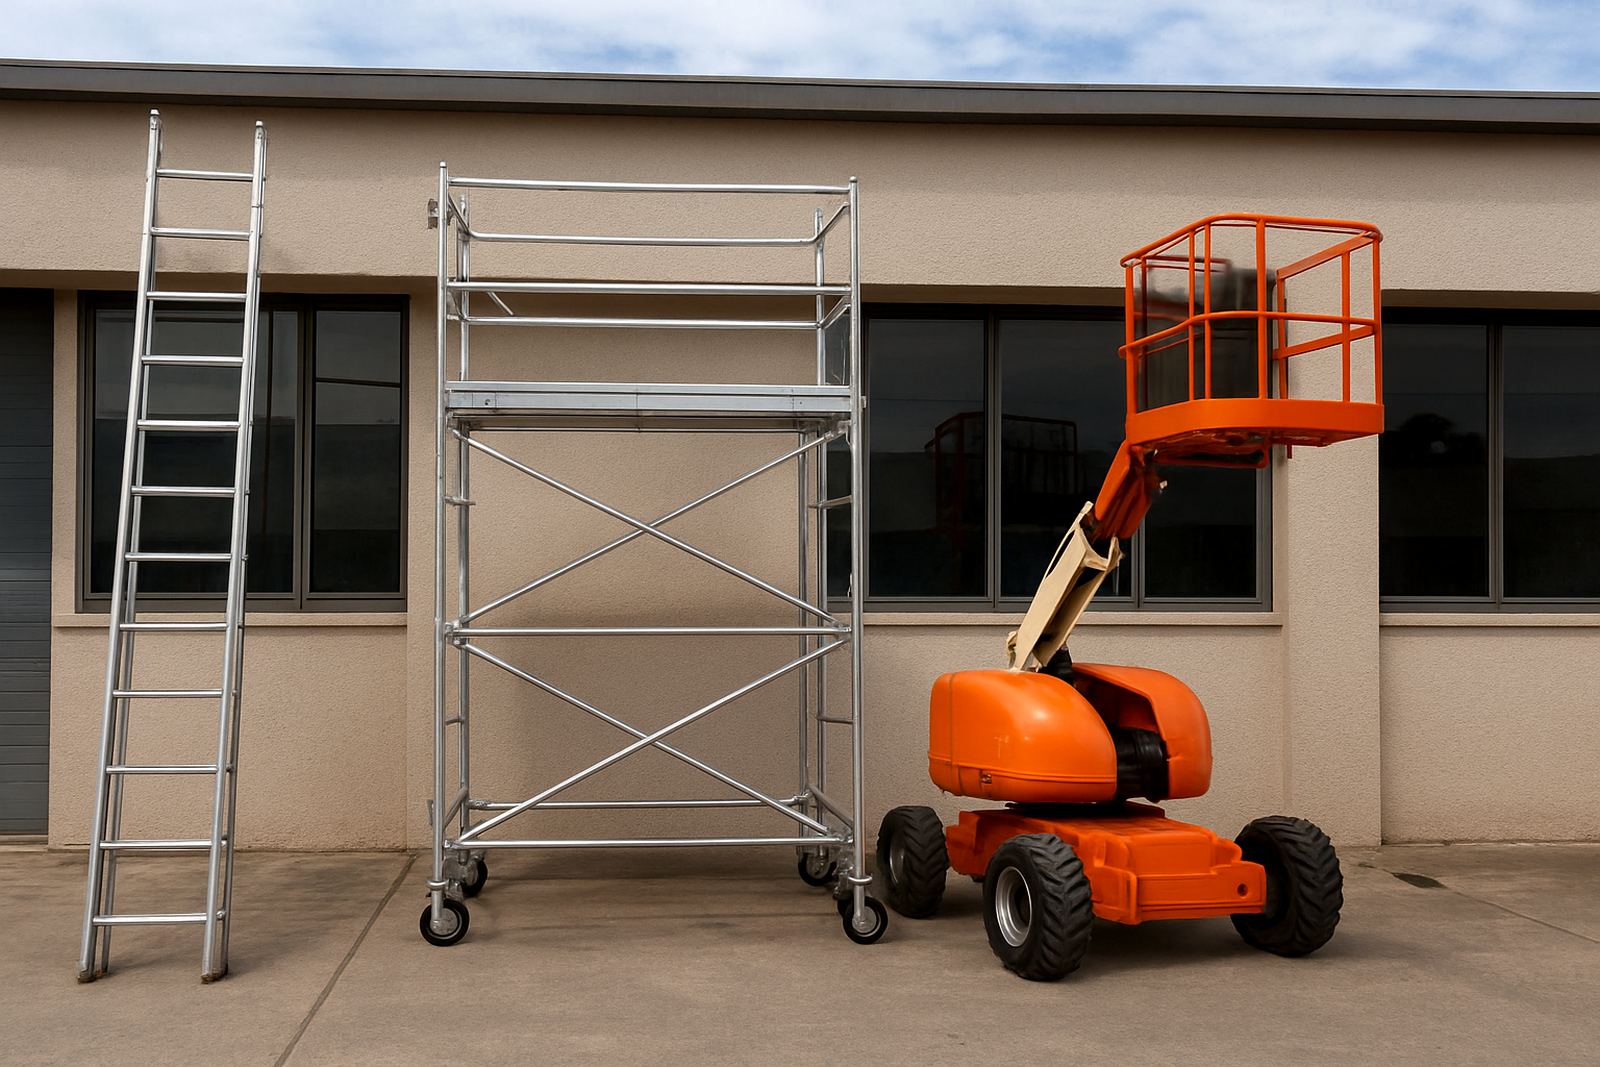
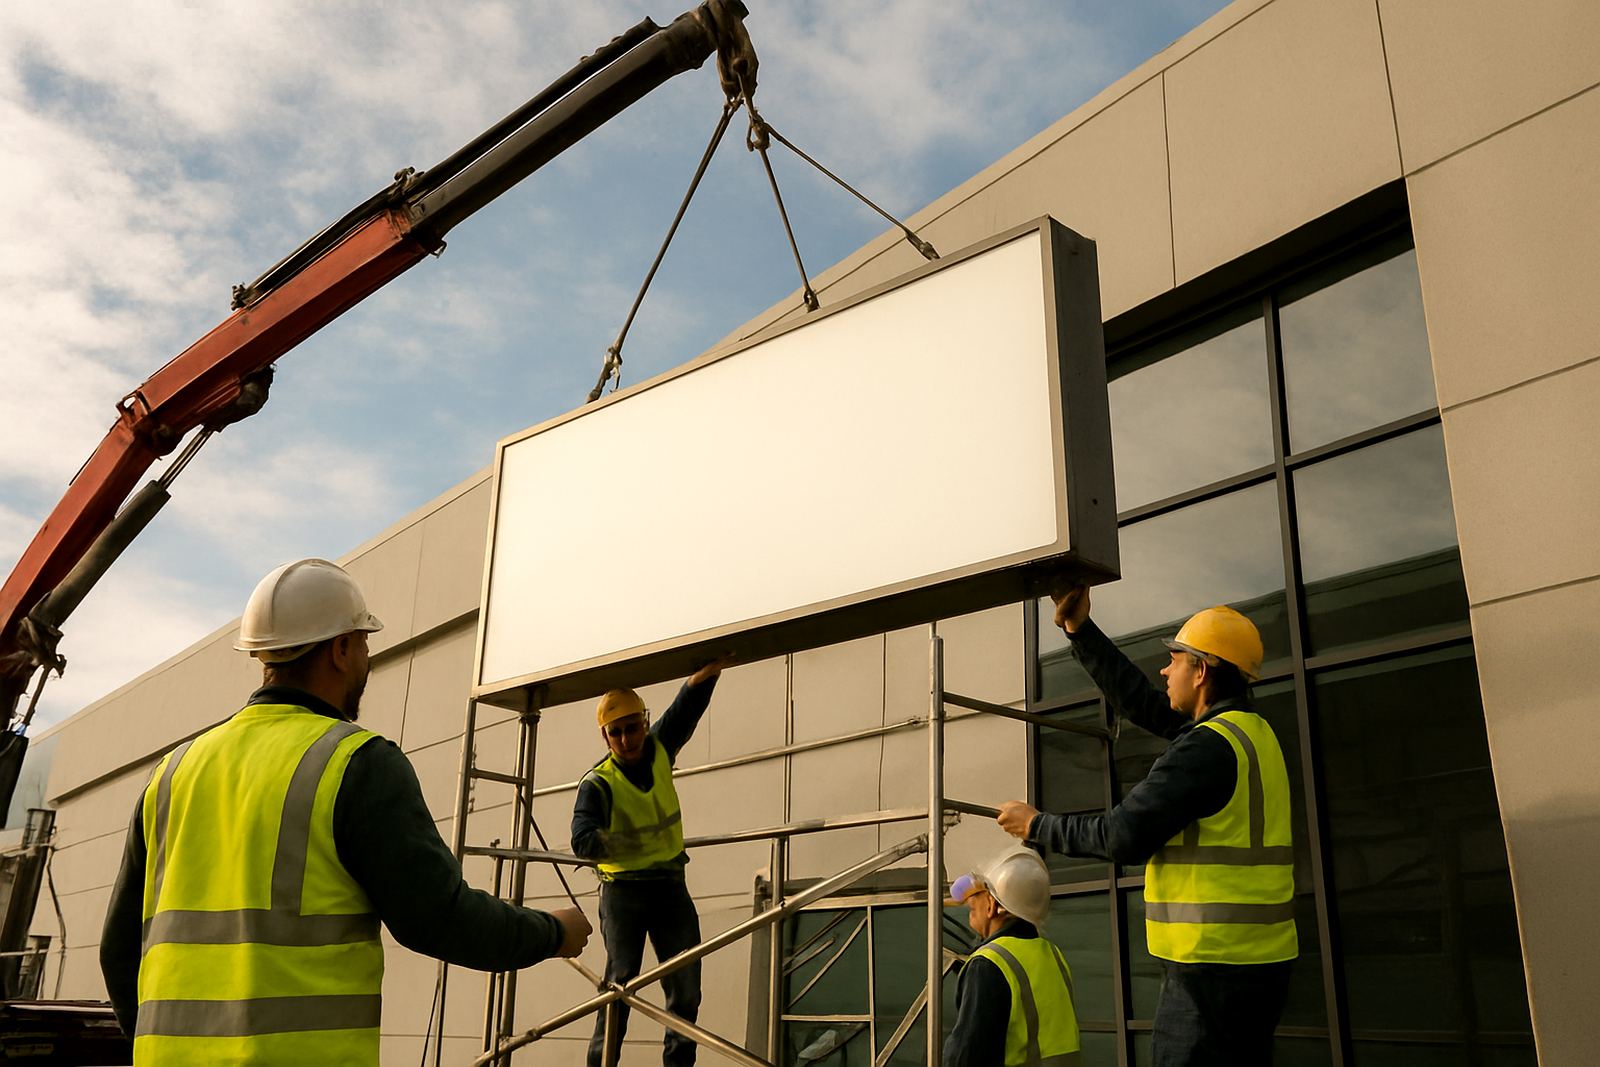
The access plan should match the height, reach and ground conditions. A small shopfront sign may only need a ladder and controlled hand tools, but anything above pedestrian height often needs scaffold, a platform, or a lift plan with exclusion zones. On windy days, high levels and coastal exposure can make the work more difficult, especially in places like Somerset West, Paarden Eiland and the open industrial edges of the East Rand.
If the surface is uneven, if there are parked vehicles below, or if the sign sits over glass and awnings, the crew should plan a safe lowering method before starting. Sign removals are not the place to improvise. The access equipment must suit the site, and the site must suit the access equipment.
- Choose scaffold, platform work or another approved access method.
- Allow space for setup, movement and controlled lowering.
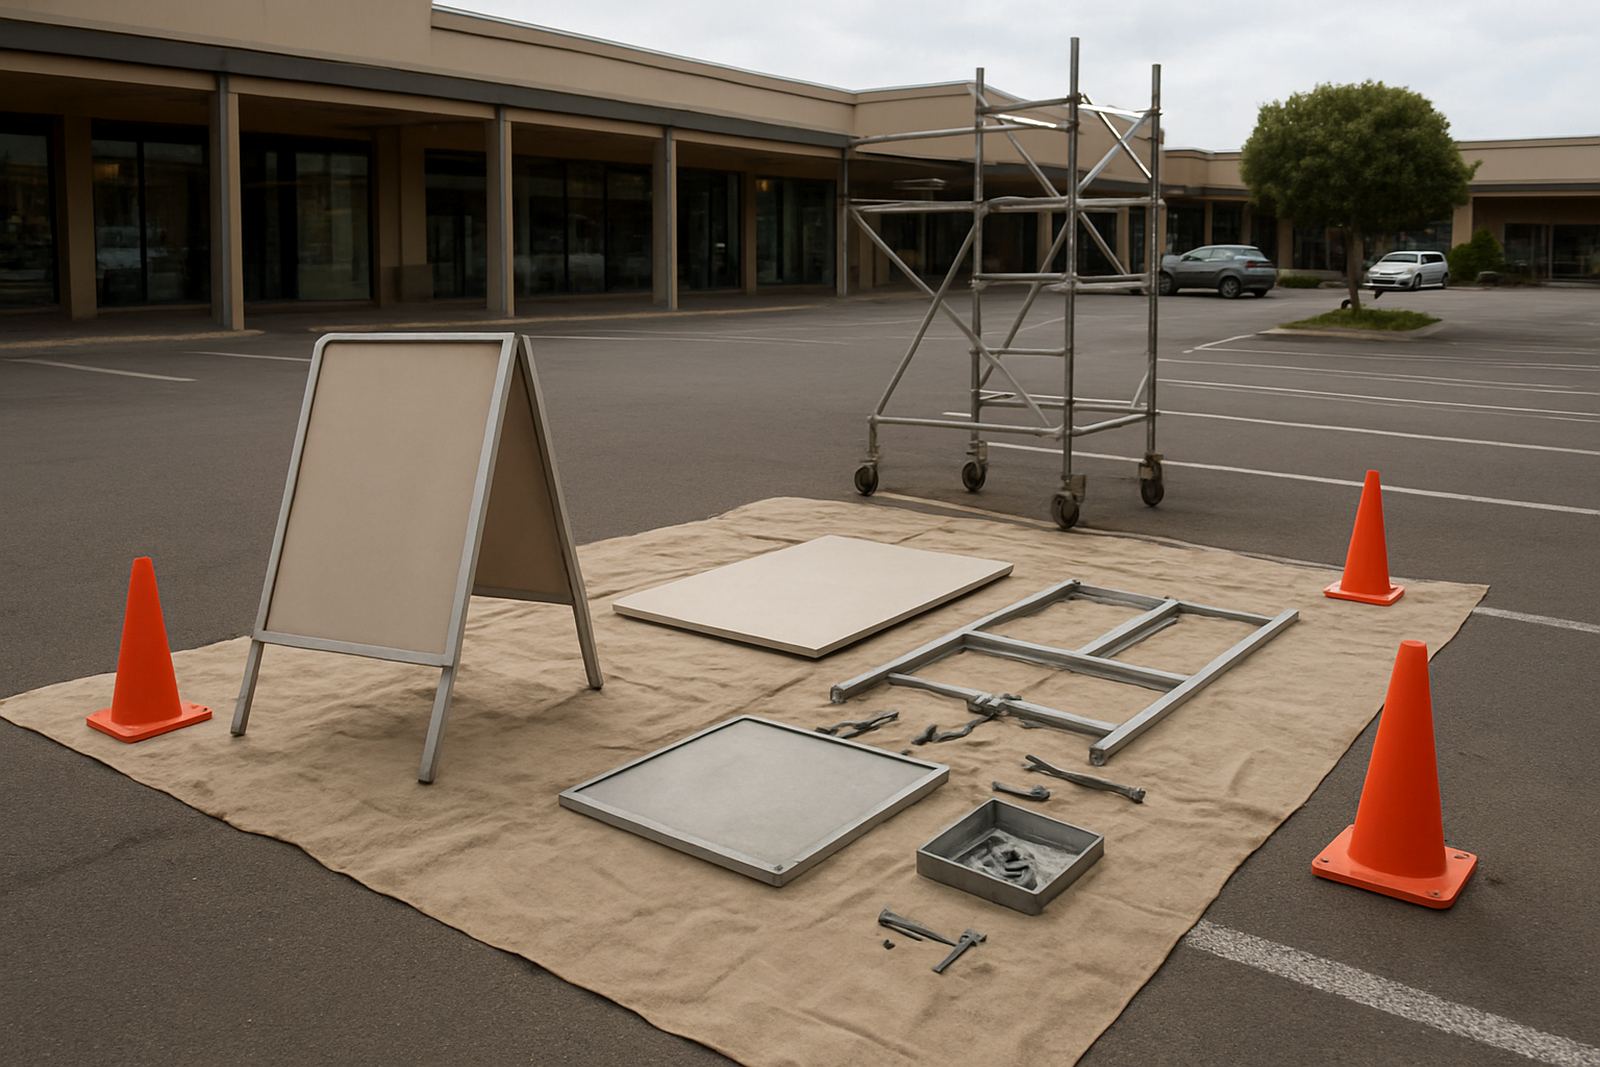
- Mark off the drop zone with cones, tape or barriers.
- Check for overhead cables, pipes, canopies and trees.
- Allow for ground load and turning space for equipment.
4. Protect the building, the sign and the people below
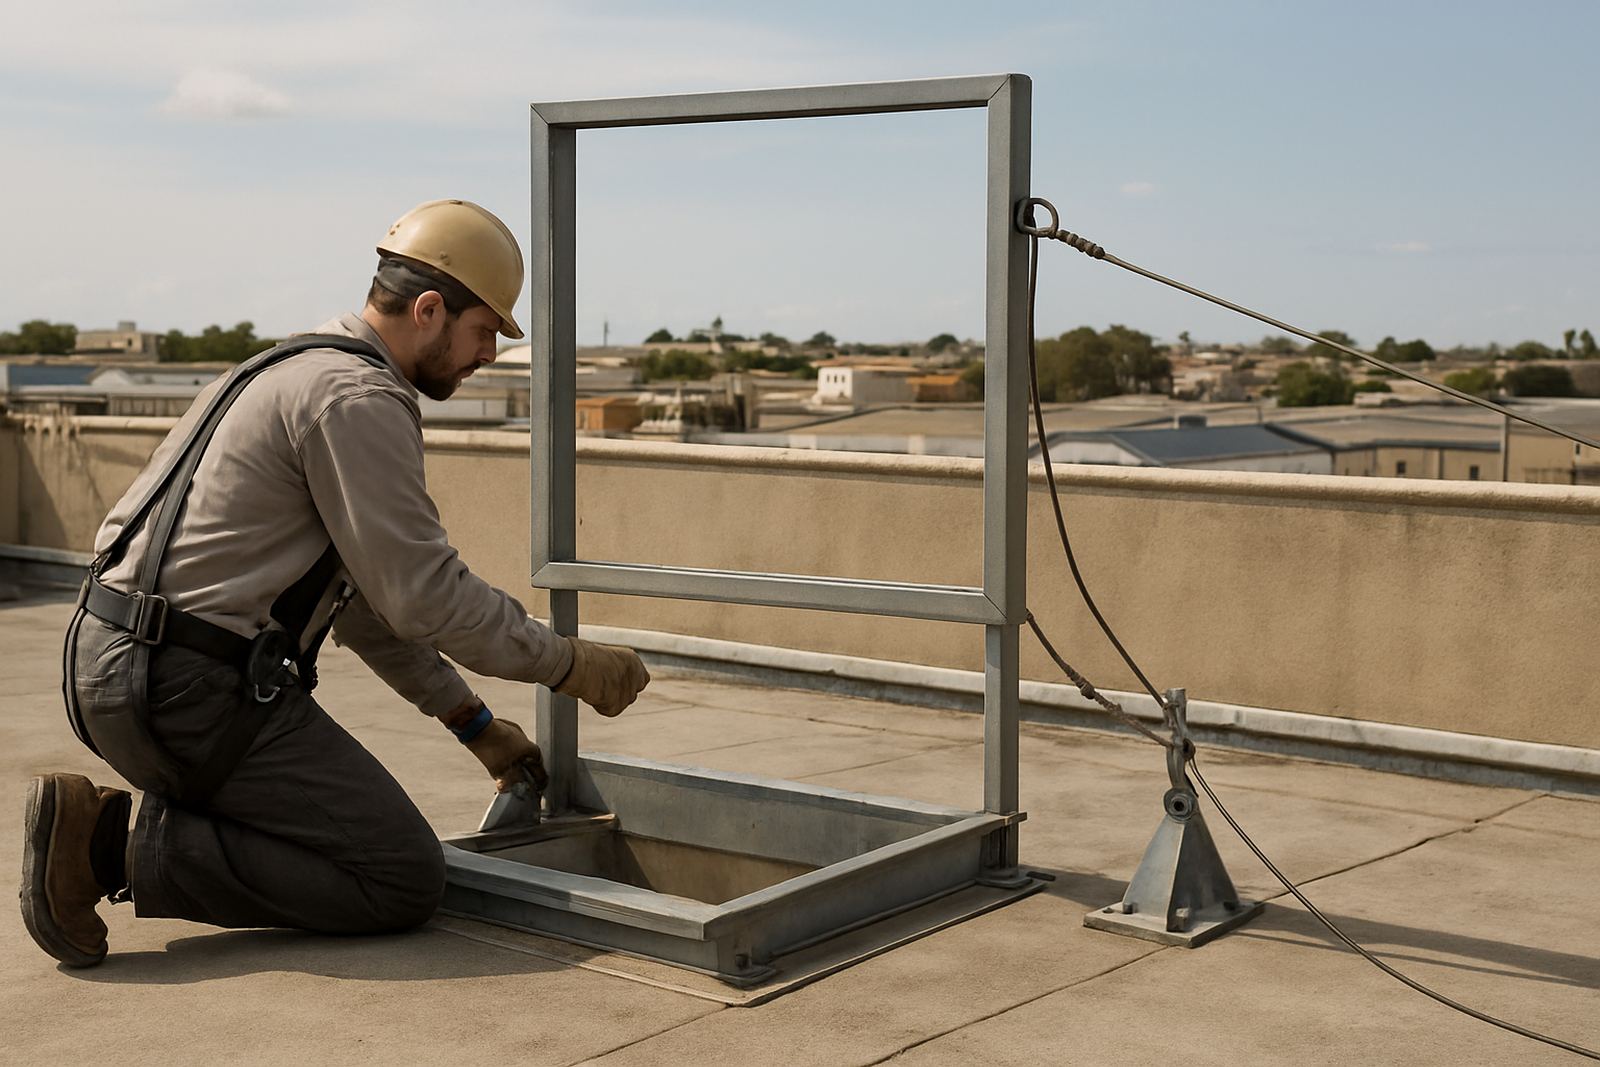
Most removal damage happens when the team rushes the last part of the job. Old brackets can seize, fixings can be rusted through, and cladding can crack if the sign is pulled away too fast. The better method is to support the sign, release it in stages and keep one person watching the movement while others work the fixings.
People below must be kept out of the work area. That includes staff, customers, tenants and passers-by. In town centres and retail parks, a dropped tool or loose face panel can become a serious problem in seconds. A proper exclusion zone also gives the crew the room they need to handle awkward panels and brittle old acrylic. Small job or not, the area needs control.
- Set a clear exclusion zone under and around the sign.
- Use tag lines or hand control where panels may swing.
- Protect glazing, paving, vehicles and painted surfaces.
- Remove loose trim, covers and fixings in the right order.
- Stop work if the wind picks up or visibility drops.
5. Check for concealed damage before you leave site
Once the sign is down, inspect the wall or structure behind it. Removal often exposes water ingress, old anchor holes, cracked render, failed sealant or corroded steel. That matters for the sign maker and the property owner because the next installation may be delayed if the substrate is not sound.
If the sign was fixed to a cladded facade, inspect the panel edges and fastener points. If it was mounted on masonry, check for loose brickwork or failed plugs. On coastal sites, salt air can speed up rust and staining, while inland sites often show heat movement and dust build-up around the old fixings. A quick inspection now can save a return visit later.
- Photograph the exposed area before any patching starts.
- Identify damaged holes, bent brackets or water entry points.
- Agree who will make good, the landlord, sign maker or site contractor.
- Remove debris, loose screws and broken fixings from the area.
- Store removed parts if they may be reused or needed for records.
6. Agree the handover, disposal and next step
A safe removal does not end when the sign is on the ground. The sign maker still needs a clean handover, a note of what was removed, and clarity on whether the sign will be scrapped, repaired or re-used. If the sign is being relocated, label the sections clearly so reinstallation is easier and the fixings can be matched up later.
At larger sites, especially where several signs are being changed at once, it helps to keep one contact person on the client side and one on the rigging side. That keeps decisions quick and reduces confusion over who signed off what. Good records also help if the municipal authority, landlord or centre management later asks for proof of safe removal.
- Confirm what is being taken off site and what stays behind.
- Label reusable parts, cables and fixings.
- Remove waste from the site and leave the area tidy.
- Close out any access or permit requirements.
- Send photos and a short completion note to the sign maker.